

Hey there, design newbie. Want to create graphics that make people go ‘wow’? You’ve come to the right place. In this series, we’ll show you how to access over 50 million high-quality stock images and use them to design stunning graphics, even if you have little or no design experience.
Using Bigstock, an affordable image marketplace, you’ll discover how to find pictures perfect for your needs. Then with a few simple tools and tricks, you can turn those images into social media graphics, blog headers, email banners, or presentations that will make you look like a pro.
Over the next few posts, you’ll master image editing basics, learn typography essentials, and pick up design techniques to make your graphics pop. Are you ready to impress with your newfound design skills? Let’s get started!
Finding the Perfect Bigstock Images for Your Designs
Finding awesome images for your designs is a cinch with Bigstock. Their library has over 50 million photos, vectors, illustrations, and videos to choose from. Where do you even start?
Search by keyword
Using targeted keywords like “social media graphics” or “infographic elements” will turn up lots of options. You can also search by color, orientation, and more. Save time by filtering to just the asset types you need, e.g. “photos” or “vectors”.
Browse popular categories
Check out trending categories like “technology”, “business”, or “healthcare”. These curated sections feature stylish, high-quality images that are perfect for designs. You’re sure to find visuals that are spot-on for your industry or subject matter.
Look through featured artists
Talented contributors upload new work daily. Browsing featured artists is an easy way to discover unique graphics with a cohesive style. Save entire collections or just pick and choose your favorites.
Edit images right in Bigstock
Bigstock’s built-in editor has all the tools you need to make images your own. Adjust lighting and color, crop, add text or visual elements, apply filters, and more. Tweak a single photo or create an entire collage. With a little editing magic, you can transform stock images into completely custom graphics for your projects.
Using pro tips like these, you’ll be creating social media mastery, blog brilliance, and presentation perfection in no time. Bigstock makes it simple to design like a pro!
Using Bigstock Images to Create Stunning Social Media Graphics
Once you’ve found some stunning Bigstock images you want to use, it’s time to get designing! Using Bigstock’s images and a few simple editing techniques, you can create social media graphics that will wow your followers.
Choose an image
Browse Bigstock’s library of high-quality, royalty-free images and select one that fits your brand and the message you want to convey. For social media, look for images that are at least 1080px by 1080px.
Edit the image
Use a free editing tool like Canva, PicMonkey, or Adobe Spark Post to tweak your image. Adjust brightness, contrast, and color to make the image pop. You can also crop the image to a square size for platforms like Instagram.
Add text
Include a catchy headline, inspirational quote, or call to action on your image. Select a simple, bold font that’s easy to read, even when small. For maximum impact, choose a font color that contrasts well with your image.
Include your brand
Don’t forget to feature your brand logo, name, or both on the image. This helps raise brand awareness and gives your social posts a professional look.
Use the right size
Size your image correctly for each social platform. For example, Instagram and Facebook images should be at least 1080px by 1080px. For Pinterest, go bigger at 1000px by 1500px.
With a stunning photo from Bigstock and a few customizations, you’ll be creating social media graphics that capture attention and reflect your brand’s unique style. Keep experimenting with different images, layouts, and edits to make your graphics even more eye-catching and impactful.
Crafting Professional Presentations and Blog Graphics With Bigstock
Once you’ve found the perfect images on Bigstock for your presentation or blog post, it’s time to design an eye-catching graphic. Bigstock’s built-in editor makes it easy to craft graphics even if you’re not a professional designer.
Follow these tips to create stunning graphics:
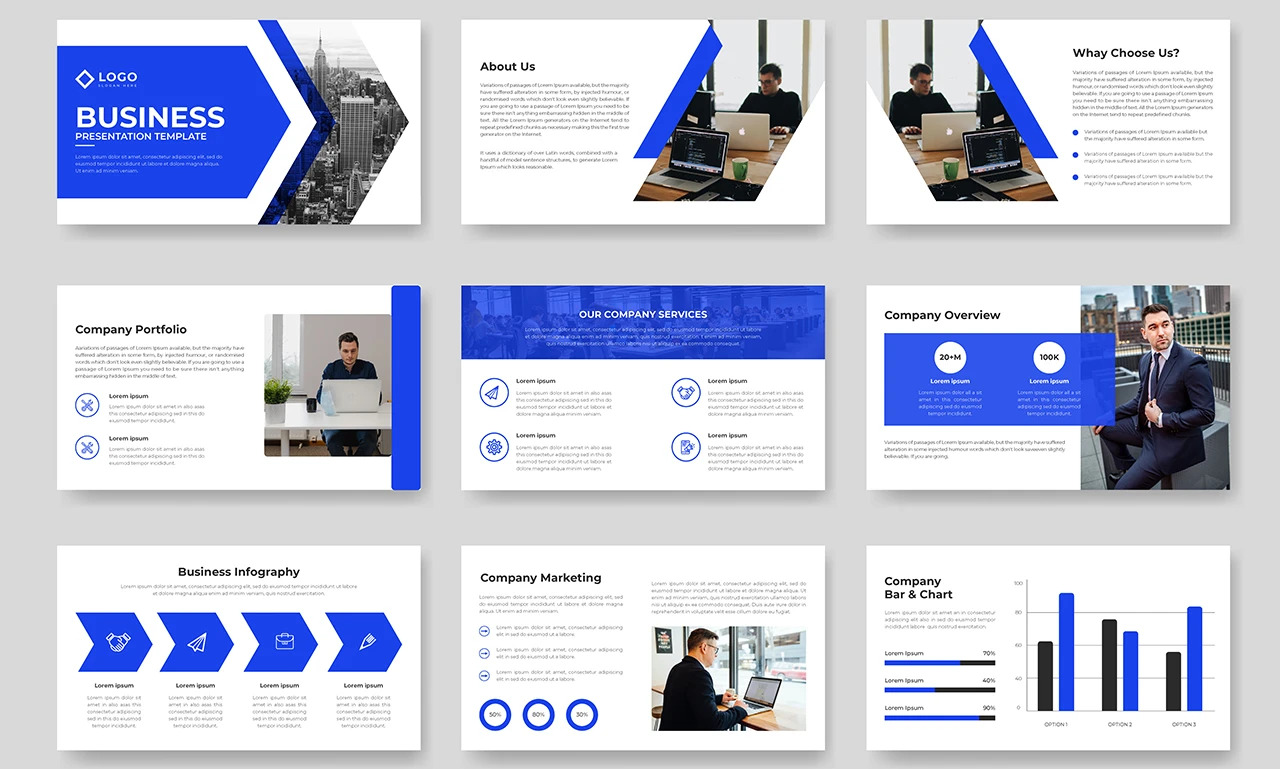
- Choose a template. Bigstock offers presentations and social media templates to get you started. Select a template that matches your content and brand. You can then customize the fonts, colors, and layout.
- Edit your images. Use the built-in editor to crop, resize, flip, or add filters and effects to your images. Play around with different options to achieve the look you want. You can also add frames, drop shadows, and rounded corners.
- Add text. Include headers, subheaders, captions, quotes, or any other text to provide context for your images. Select fonts, sizes, and colors that are easy to read and complement your images. Use the character and line spacing tools to adjust text positioning.
- Use graphic elements. Elements like shapes, lines, icons, and badges can help divide sections or draw attention. But don’t overcrowd your graphic. Only add elements that serve a clear purpose.
- Choose a color scheme. Having a consistent color scheme ties all the visual elements together for a professional look. You can select from Bigstock’s curated color palettes or create your own.
- Review and download. Double-check that your graphic looks balanced is easy to read, and conveys your key message. Then download your graphic in the size and file format you need.
With a little practice, you’ll be designing gorgeous graphics that capture attention and drive engagement. Give these tips a try and unleash your inner graphic designer! Let your creativity flow and have fun with it.
Conclusion
So there you have it, everything you need to know to create wow-worthy graphics in just a few clicks. With Bigstock’s massive library of high-quality images and some simple editing tricks, you’ll be designing like a pro in no time. Whether you’re looking to boost engagement on social media, improve your blog posts, or make your presentations pop, Bigstock has you covered. Now it’s time to start creating – open up your favorite design tool, pick an eye-catching image from Bigstock, and make some magic. Before you know it, you’ll have a stunning graphic to share with the world. Happy designing!


