You’ve mastered the basics of photo editing and are ready to take your skills to the next level. But spending hours tweaking each image can zap your creativity. The solution? Build a streamlined editing workflow in Luminar that lets your creative juices flow while saving you tons of time.
In this article, we’ll explore pro tips to optimize your photo editing process from start to finish. You’ll discover batch editing techniques to blaze through stacks of images in a flash. We’ll also cover creating custom presets so you can stylize photos with a single click. And we’ll look at integrating Luminar into your existing software suite for a seamless editing experience.
With these workflow hacks, you can focus on bringing your vision to life instead of getting bogged down in repetitive tasks. So read on to boost your productivity and take your photo editing game up a notch!
Streamline Your Editing With Luminar’s Batch Processing
Batch processing in Luminar is a huge time-saver. Once you’ve edited one photo to perfection, you can apply those changes to hundreds of other images in seconds.
Apply Presets
One of the easiest ways to batch process is by using presets. If you’ve created a custom preset to get the look you want, simply select all the photos you want to edit, click the preset, and voila – instant edits. This works great for things like color grading, exposure adjustments, and adding your signature style.
Sync Settings
Alternatively, you can sync the settings from one edited photo to others. Select the photo you want to use as the reference, choose “Sync Settings” and pick which settings you want to apply like white balance, tone, color, etc. Luminar will instantly match those settings across all your selected photos. This gives you more control to choose only the specific edits you want to reuse.
Additional Tools
Luminar also provides other useful tools for streamlining your workflow like the ‘Previous Conversion’ feature which allows you to re-apply edits from your image history, and ‘Compare Views’ to evaluate before and after edits side by side.
With the powerful batch processing and synchronization capabilities in Luminar, you’ll be editing photos faster than ever and spending more time behind the camera. Now, who’s ready to get out and shoot?

Customize Your Style With Reusable Presets
Once you’ve got the basics of editing down, it’s time to develop your own style. The best way to do this in Luminar is by creating custom presets. Save your favorite filter combinations as presets to quickly apply them to other photos.
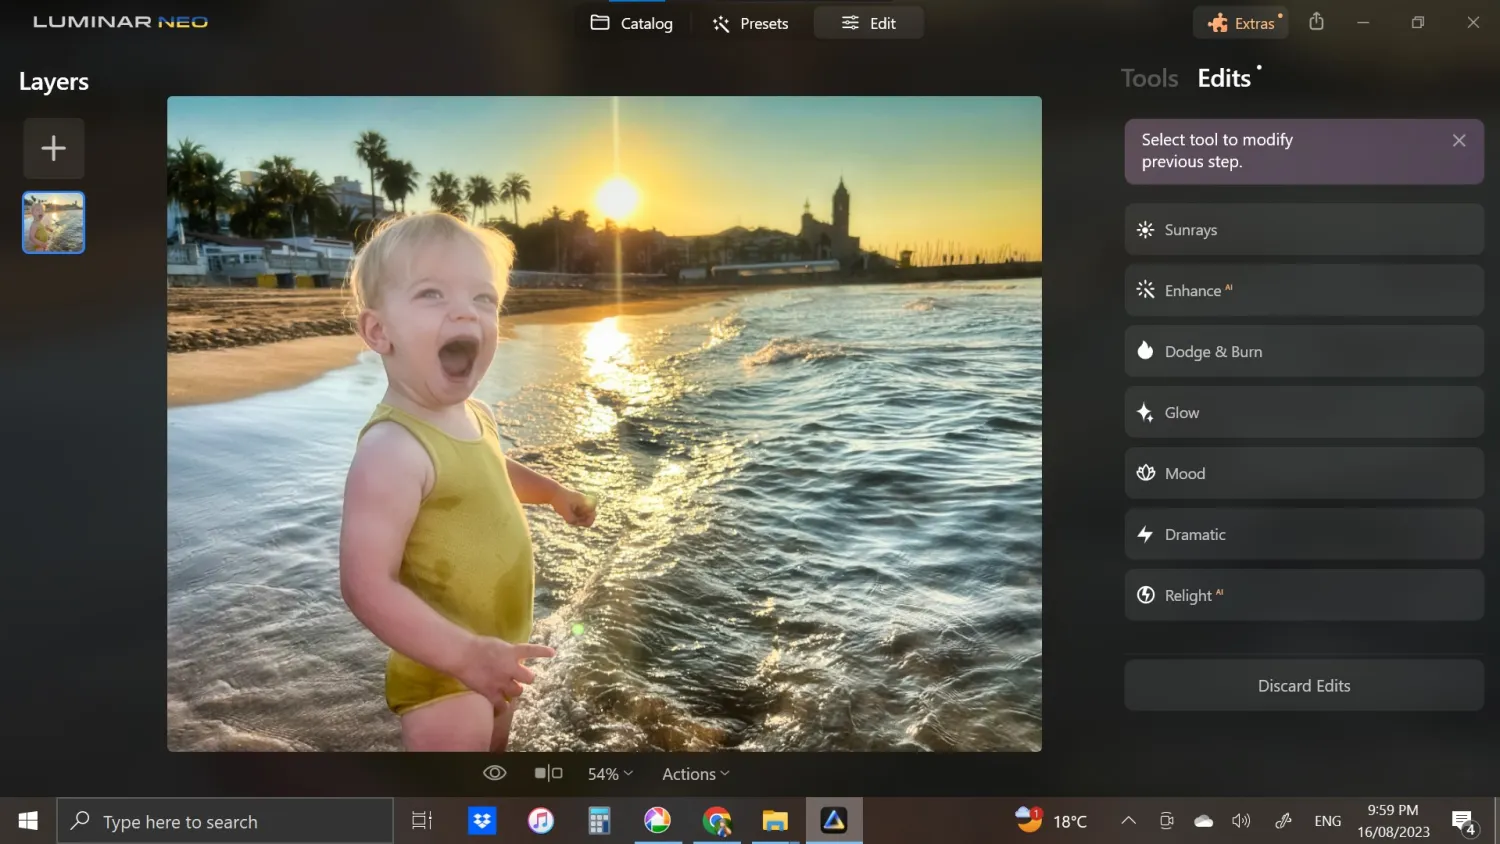
For example, say you’ve tuned an image to your liking using the AI Sky Enhancer, AI Structure, and AI Color tools. You can save all those adjustments as a preset named “Dramatic Sky”. Then just select that preset anytime you want to give an image a similar bold and contrasty look.
Presets are also handy for repetitive edits like batch processing. If you have a set of images from the same shoot that all need the same basic corrections, develop one photo as desired, then save that as a preset. Apply that preset to the other images, and you’ve edited the whole batch in record time!
You can even build presets on presets. Start with a preset for basic corrections, like exposure and white balance, then apply a creative preset on top of that. Keep fine-tuning and saving the results as new presets. Before you know it, you’ll have a whole library of customized looks.
The best part is, Luminar integrates beautifully with other apps like Photoshop, Lightroom Classic, and Capture One. So the presets you create in one program can easily be used in another. Your signature style is now at your fingertips, no matter what software you’re using. Isn’t technology grand?
With Luminar’s powerful preset options, you have everything you need to take your photo editing workflow to new heights of creativity and efficiency. Build a collection of presets that reflect your unique artistic vision, and editing will become second nature.

Integrate Luminar Into Your Workflow for Maximum Efficiency
To get the most out of Luminar, integrate it into your regular photo editing workflow. This allows you to make the most of Luminar’s powerful features like batch editing and custom presets, saving you time and hassle.
Batch process your photos
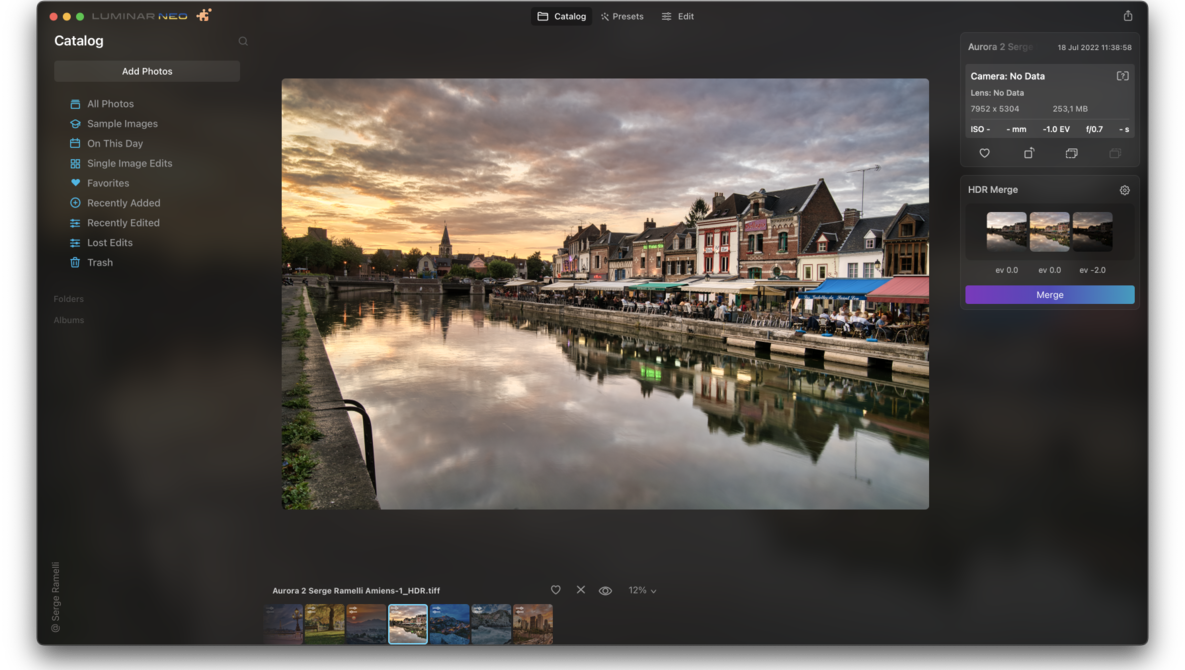
If you have a set of photos from the same shoot or location that you want to edit in a similar style, use Luminar’s batch processing feature. You can apply filters, presets, and edits to multiple photos at once. Tweak each photo individually after batch processing to adjust for differences in lighting or composition. Batch editing is a huge time saver and helps ensure a cohesive look across a set of images.
Save and re-use custom presets
Once you create an edit you love, save it as a custom preset to apply the same style to other photos. Presets are a great way to achieve a consistent look and feel for an entire image collection. To save a preset, click the “+” icon at the top of the Filters panel. Name your preset and it will appear in the list to re-use on other photos. You can also export presets to share with other Luminar users.
Integrate with other apps
If you use other photo editing or cataloging software, you can easily integrate Luminar into your workflow. For example, you can use Luminar as a plug-in with programs like Photoshop, Lightroom Classic, and Capture One. This allows you to leverage Luminar’s filters and tools, then finish editing in your primary app. You can also set Luminar as your default photo viewer in macOS to open images directly in the app for quick edits. The flexibility to use Luminar on its own or with other software means you can craft the photo editing workflow that suits you best.
Optimizing how you use Luminar through batch editing, custom presets, and integration with other apps will transform how you work with your photos. You’ll save time, achieve better results, and gain more creative control over the entire editing process.
So there you have it, some easy ways to step up your photo editing game with Luminar. Don’t be afraid to get creative and make those workflows your own – customize to your heart’s content! With batch processing, presets, and plugins at your fingertips, the only limit is your imagination. Now get out there and make some magic happen. Take those photos from drab to fab with just a few clicks. And remember, the more you play around, the more efficient you’ll get. Before you know it, you’ll be editing photos faster than you can say “filters.” So what are you waiting for? It’s time to take your skills up a notch and wow your followers with your amazing edits. Happy editing!


