

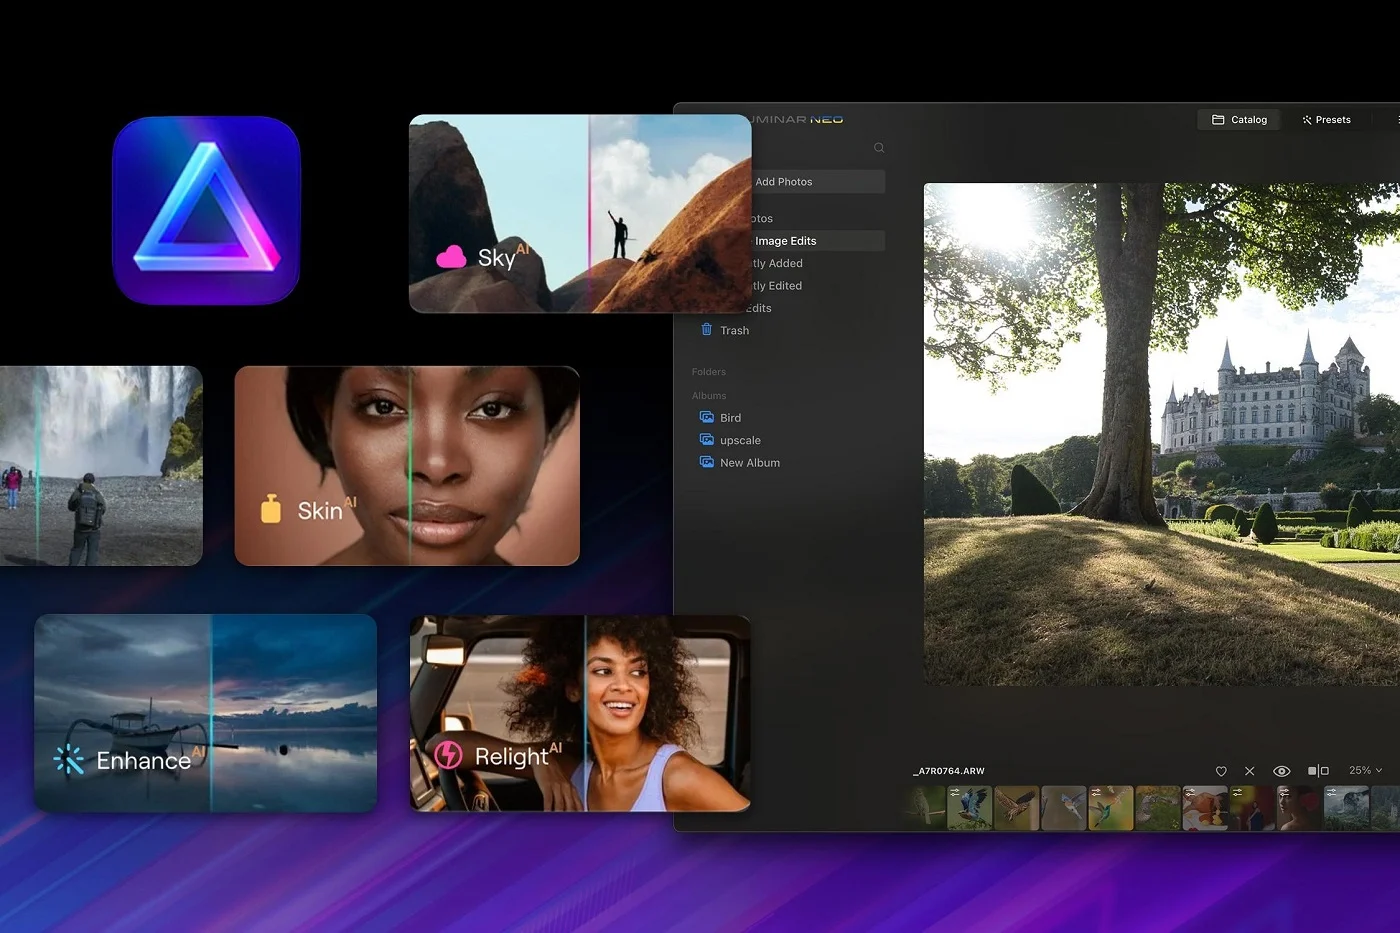
As someone who loves photography, you know what a game-changer photo editing software can be. But with so many options out there, it’s tough to know where to start. That’s where Luminar comes in. This intuitive yet powerful program makes it easy to turn your good shots into great shots with just a few clicks. In this series, we’ll walk through Luminar’s robust tools step-by-step so you can start enhancing your images like a pro. Whether you want to improve lighting, add drama, or get creative with filters, these in-depth tutorials will help you master this software and take your photography to the next level. With the help of Luminar, your photos will look stunning in no time. So grab your favorite shots and let’s dive in!
Enhancing Color and Exposure With Luminar
Adjusting White Balance
The white balance tool lets you correct color casts and ensure natural-looking colors in your photo. Just click the eyedropper on something white or light gray, and Luminar will adjust the temperature and tint for accurate color. For tricky shots without a neutral reference, use the sliders to make the photo warmer or cooler.
Improving Exposure
The exposure slider lightens or darkens your entire photo. Drag it to the right to make things brighter or to the left to make things darker. For more precise control, use the highlights and shadows sliders. Pull highlights left to darken bright areas like the sky, and push shadows right to brighten dark spots.
Working With Vibrance and Saturation
Vibrance intelligently saturates dull colors without oversaturating already vibrant colors. Increase it for more lively and vivid colors. The saturation slider, on the other hand, saturates all colors equally which can look unnatural if pushed too far. Use it sparingly.
Cropping and Straightening
The crop tool lets you change your photo’s composition and orientation. Select an aspect ratio like 4:3 or 16:9 and drag the grid to crop as desired. Use the rotate slider to straighten a slanted horizon. Crop and rotate together for perfectly level photos every time.
With Luminar’s powerful yet easy to use tools, you’ll be enhancing colors and improving exposure (not to mention cropping and straightening) in no time. Your photos will be looking their vibrant best before you know it!
Getting Creative With Luminar’s Filters and Effects
Adjusting Tone and Color
With Luminar, you have tons of options for enhancing tone and color in your photos. The HSL filter lets you tweak hue, saturation, and luminance for targeted color adjustments. Boost the oranges in a sunset shot or tone down blues in a landscape. The Color Balance filter is perfect for correcting an unwanted color cast or creating a stylized look.
Adding Drama with Filters
Luminar comes with over 40 filters to help set the mood and style of your image. Many emulate classic film looks, like the Vintage filter for a retro warm tone or the Cinematic filter for a dramatic, high-contrast appearance. The Orton effect creates a dreamy glow. For a bold pop, try the Matte filter or boost clarity with the Structure filter. Mix and match filters for an endless array of creative possibilities.
Specialized Tools for Added Impact
Some of Luminar’s tools go beyond basic adjustments to open up new creative doors. The Golden Hour filter mimics the golden sunlight at dusk or dawn. The Sunrays filter adds realistic lens flares and sunbeams. The Glow filter creates a soft, ethereal haze. And my personal favorite, the Dramatic tool, applies a tone curve and Orton effect in one click for a striking, vivid edit.
With so many options for enhancing and stylizing your photos, Luminar is a creativity powerhouse. Spend some time playing with all the different tools and filters to see what catches your eye. You’ll be crafting works of art in no time!
FAQs About Using Skylum Luminar for Photo Editing
Now that you have Luminar up and running, you probably have a few questions about how to use it. Here are some of the most common FAQs to help you get started.
How do I import my photos?
Importing photos into Luminar is simple. Just click the “Add Photos” button at the top of the screen or drag and drop your photos directly onto the Luminar window. Luminar supports all major photo formats like JPEG, RAW, and PNG.
How do I save and export edited photos?
When you’re done editing a photo, click the “Export” button at the top of the screen. Give your photo a name and select a file format like JPEG or PNG. Choose a save location on your computer and click “Export”. Your edited photo will be saved to that location.
What tools does Luminar offer for editing my photos?
Luminar includes all the tools you need for basic and advanced photo editing. Some of the major tools include:
- Color correction tools like white balance, tone, and saturation adjustment.
- Exposure and lighting tools such as levels, curves, and highlights/shadows.
- Creative tools including vignette, film grain, and photo filters.
- Retouching tools for portrait editing like blemish removal, red eye fixer, and teeth whitening.
- Local adjustment tools to edit specific parts of your photos.
- And many more! Luminar has one of the most robust sets of photo editing tools available.
How can I learn to use all these tools?
The best way to learn Luminar is through practice! Start by importing one of your photos and playing around with the different tools. Check out the video tutorials on the Skylum website and YouTube channel to see how the pros use Luminar. With regular use, you’ll be editing photos like a pro in no time.
Have any other questions about using Luminar? Let us know in the comments!
So there you have it! With Luminar’s powerful and intuitive editing tools, the creative possibilities are endless for making your photos pop. Whether you’re looking to quickly improve the lighting and color, or get more artistic with special effects, Luminar makes it easy and fun. Now it’s your turn to dive in and start enhancing your own photos. Experiment with different filters and adjustments to find your favorite looks. The more you play around, the more comfortable you’ll get. Before you know it, you’ll be editing photos like a pro. With a little practice and imagination, you can transform your shots into stunning images that make people say “wow!”. So get creative, and take your photography to the next level with Luminar.