So you’ve got your camera equipment all sorted thanks to Adorama, but now you’re itching to put it to good use, right? Don’t worry, we’ve got you covered. Whether you’re looking for a fun weekend project or want to get your creative juices flowing, these DIY photography ideas using Adorama gear are sure to inspire. From dreamy light painting photos to dramatic silhouette shots, you’ll be unleashing your inner artist in no time. The best part? All of these projects are easy on the wallet. Armed with some basic supplies and your Adorama camera, you’ll be crafting gallery-worthy photos before you know it. Read on for five creative DIY photography projects to spark your imagination.
Easy Macro Photography With the Adorama Focusing Rail
Want to get up close and personal with your subject? The Adorama focusing rail is an affordable way to experiment with macro photography.
With the focusing rail, you can inch your camera closer to the subject by tiny increments, allowing you to magnify details and capture stunning close-ups. Attach your camera to the focusing rail, set up your shot, then slowly slide the camera forward. Take a photo at each small interval until you achieve your desired magnification.
For extra magnification, add extension tubes between your lens and the camera body. The tubes increase the distance between the lens and sensor, enabling a closer focus and larger image size.
Another trick is to use a teleconverter, which multiplies your lens’ focal length. A 2x teleconverter doubles your magnification. Combine extension tubes and a teleconverter for maximum magnification.
Reverse lens macro photography is an easy, budget-friendly hack. Detach your lens and mount it backward, with the rear lens element facing the subject. The reversed lens acts like a high-powered magnifying glass. You’ll get amazing results, especially with a 50mm lens.
With the right Adorama gear and some creativity, you’ll be discovering a miniature world of detail and wonder. Macro photography opens up a new dimension in your craft and sees subjects in an entirely new light.

Dramatic Lighting on a Budget: Build Your Softbox With Adorama Accessories
With a few affordable accessories from Adorama, you can create your softbox to achieve gorgeous, dramatic lighting in your photos.
A softbox diffuses light, softening harsh shadows and creating an even glow ideal for portraits or product shots. Here’s how to make your own:
First, grab an inexpensive light stand to hold everything in place. Adorama’s 9’ aluminum light stand is a sturdy, budget-friendly option.
Next, get a speedring to attach your softbox to the light stand. Adorama’s Elinchrom speedrings work with their softboxes and won’t break the bank.
Then choose a softbox. Adorama’s square softboxes come in a range of sizes at low prices. For dramatic lighting, a medium 32” or large 47” softbox is perfect.
Lastly, you’ll need a continuous light like LEDs or fluorescent bulbs to put in the softbox. Adorama has affordable LED light panels that provide bright, even light without heat.
With your supplies in hand, assemble the light stand, speeding, softbox, and lights. Place your softbox at a 45-degree angle to your subject for the most flattering light. Adjust the height and angle of the stand and the brightness of the lights.
In just a few simple steps, you’ve created professional quality lighting on a DIY budget. Your Adorama softbox will open up a world of creative possibilities for your photography. Dramatic portraits, vivid product shots, and evenly lit videos are now at your fingertips. Unleash your creativity!

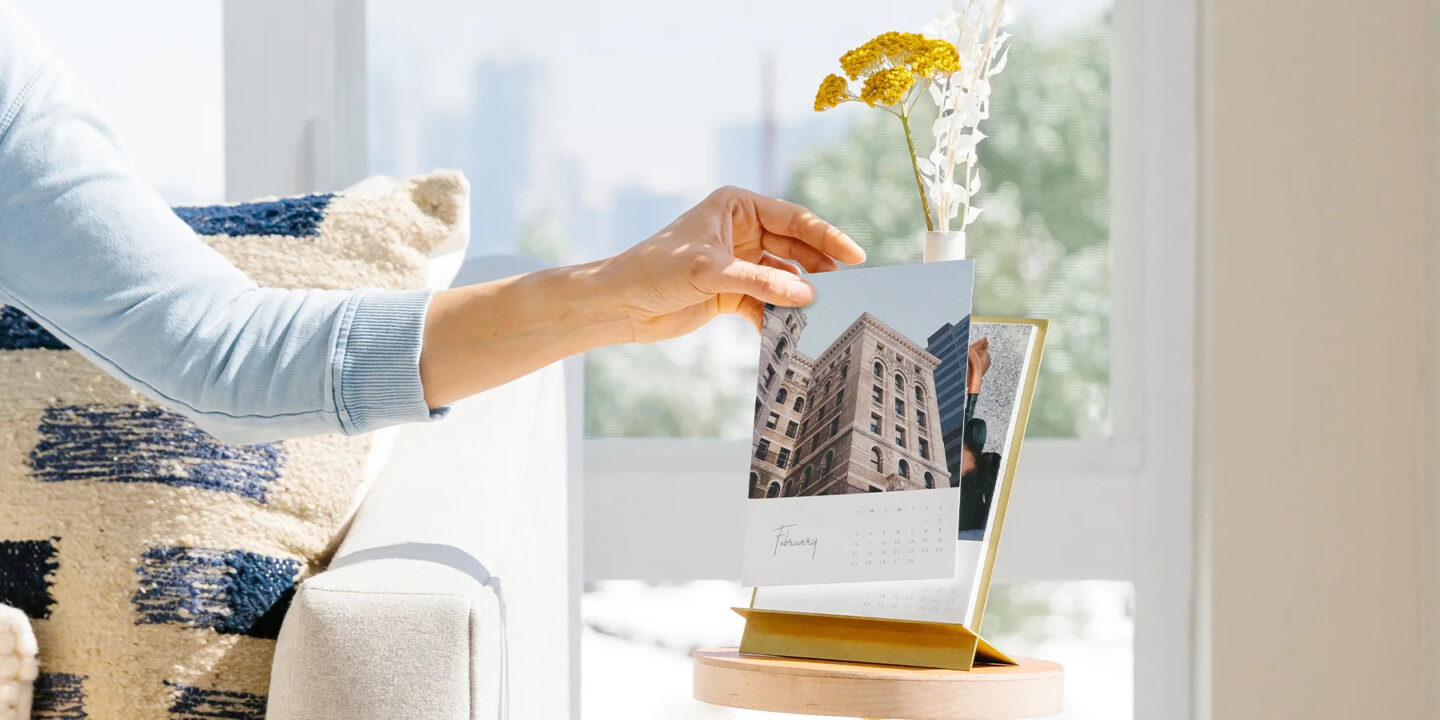
Get Creative With Adorama’s Photo Printing Services: Make Your Photo Collage
Adorama offers high-quality photo printing services that are perfect for creative projects. One fun idea is to make your custom photo collage. Here’s how:
Gather your favorite photos. Dig through your collection and pick out a variety of shots that capture memories or subjects that are meaningful to you. For the best results, choose a mix of portrait, landscape, action, and close-up photos.
Select a theme. Decide on a theme to tie all the photos together, like family vacations, hobbies, or holidays. A theme will make your collage more cohesive. Alternatively, you can opt for an eclectic assortment of your favorite snapshots.
Choose a layout. Figure out how you want to arrange the photos on your board. You can do a grid, arrange them at different angles, or layer them for a multi-dimensional look. Leave space in between photos to add text or embellishments.
Print your photos. Upload your selected photos to Adorama’s print shop and order 4×6 inch or 5×7 inch prints. For the best quality, choose a glossy or luster finish. Adorama offers affordable pricing and quick turnaround times.
Construct your collage. Glue the photos onto a sturdy board or canvas. Use a photo mounting adhesive or double-sided tape to securely adhere your photos. Add touches like string, stickers, or handwritten captions to further customize your creation.
Conclusion
You’ve now got 5 DIY photography projects to unleash your creativity and push your skills to the next level. With Adorama’s range of affordable equipment, you have everything you need to get started. Whether you want to experiment with light painting, create surreal optical illusions, or craft a custom macro lens, these tutorials will inspire you to think outside the box. Now grab your camera, round up some supplies, and get shooting! Don’t forget to share your creative results with us. We’d love to see what you come up with using these techniques and tools. Happy DIYing and keep pushing the boundaries of your photography. The possibilities are endless!


